

There’s nothing quite like the comforting aroma of freshly baked banana bread filling your kitchen. If you’re looking for a recipe that’s moist, rich, and packed with flavor, you’ve come to the right place! In this step-by-step guide, we’ll show you how to make sour cream banana bread that’s not only incredibly easy to prepare but also delivers bakery-quality results every time.
The secret to this recipe lies in the sour cream—it adds a creamy texture and just the right amount of tang, making the bread irresistibly moist and delicious. Whether you’re an experienced baker or a beginner, this guide will walk you through every step, from choosing the perfect bananas to baking and storing your loaf. By the end, you’ll have a homemade treat that’s perfect for breakfast, dessert, or a mid-day snack.
So, grab your apron and let’s get started on this foolproof recipe for the best sour cream banana bread you’ve ever tasted!
Why Sour Cream Makes the Best Banana Bread
- What Sour Cream Does to Banana Bread:
- Adds moisture and richness.
- Enhances flavor with a slight tang.
- Comparing Sour Cream to Other Ingredients:
- Why sour cream works better than yogurt or milk.
- Tips for Choosing the Right Sour Cream:
- Full-fat vs. low-fat sour cream.
- Avoid flavored or sweetened varieties.
- Other Benefits of Adding Sour Cream:
- Extends the bread’s shelf life by retaining moisture.
Ingredients You’ll Need for Sour Cream Banana Bread
- Essential Ingredients:
- Ripe bananas, sour cream, flour, sugar, eggs, butter, baking soda, vanilla extract, salt.
- Optional Add-Ins:
- Chocolate chips, walnuts, pecans, or cinnamon.
- How to Choose the Perfect Bananas:
- For the best flavor and sweetness, opt for overripe bananas with brown spots.
- Substitution Ideas:
- Alternatives for sour cream (Greek yogurt, crème fraîche).
Step-by-Step Instructions to Bake Sour Cream Banana Bread
- Step 1: Prepare Your Ingredients and Tools:
- Gather ingredients, preheat oven, grease the loaf pan.
- Step 2: Mix Wet Ingredients:
- Mash bananas, whisk eggs, butter, sour cream, and vanilla extract together.
- Step 3: Combine Dry and Wet Ingredients:
- Sift flour, sugar, baking soda, and salt. Gradually mix into the wet ingredients.
- Step 4: Bake the Bread:
- Pour batter into the loaf pan and bake at 350°F for 55-65 minutes.
- Step 5: Cool and Serve:
- Allow bread to cool for 10 minutes in the pan, then transfer to a wire rack.
Tips for Perfect Sour Cream Banana Bread
- Avoid Overmixing:
- Overmixing can lead to dense, chewy bread.
- Test for Doneness:
- Insert a toothpick into the center—if it comes out clean, the bread is done.
- Use Proper Measurements:
- Follow the recipe accurately for best results.
- Storage Tips:
- Store in an airtight container for up to 3 days at room temperature or 5-7 days in the fridge.
- Freezing Banana Bread:
- Wrap slices in plastic wrap and place them in a freezer bag to store for up to 3 months.
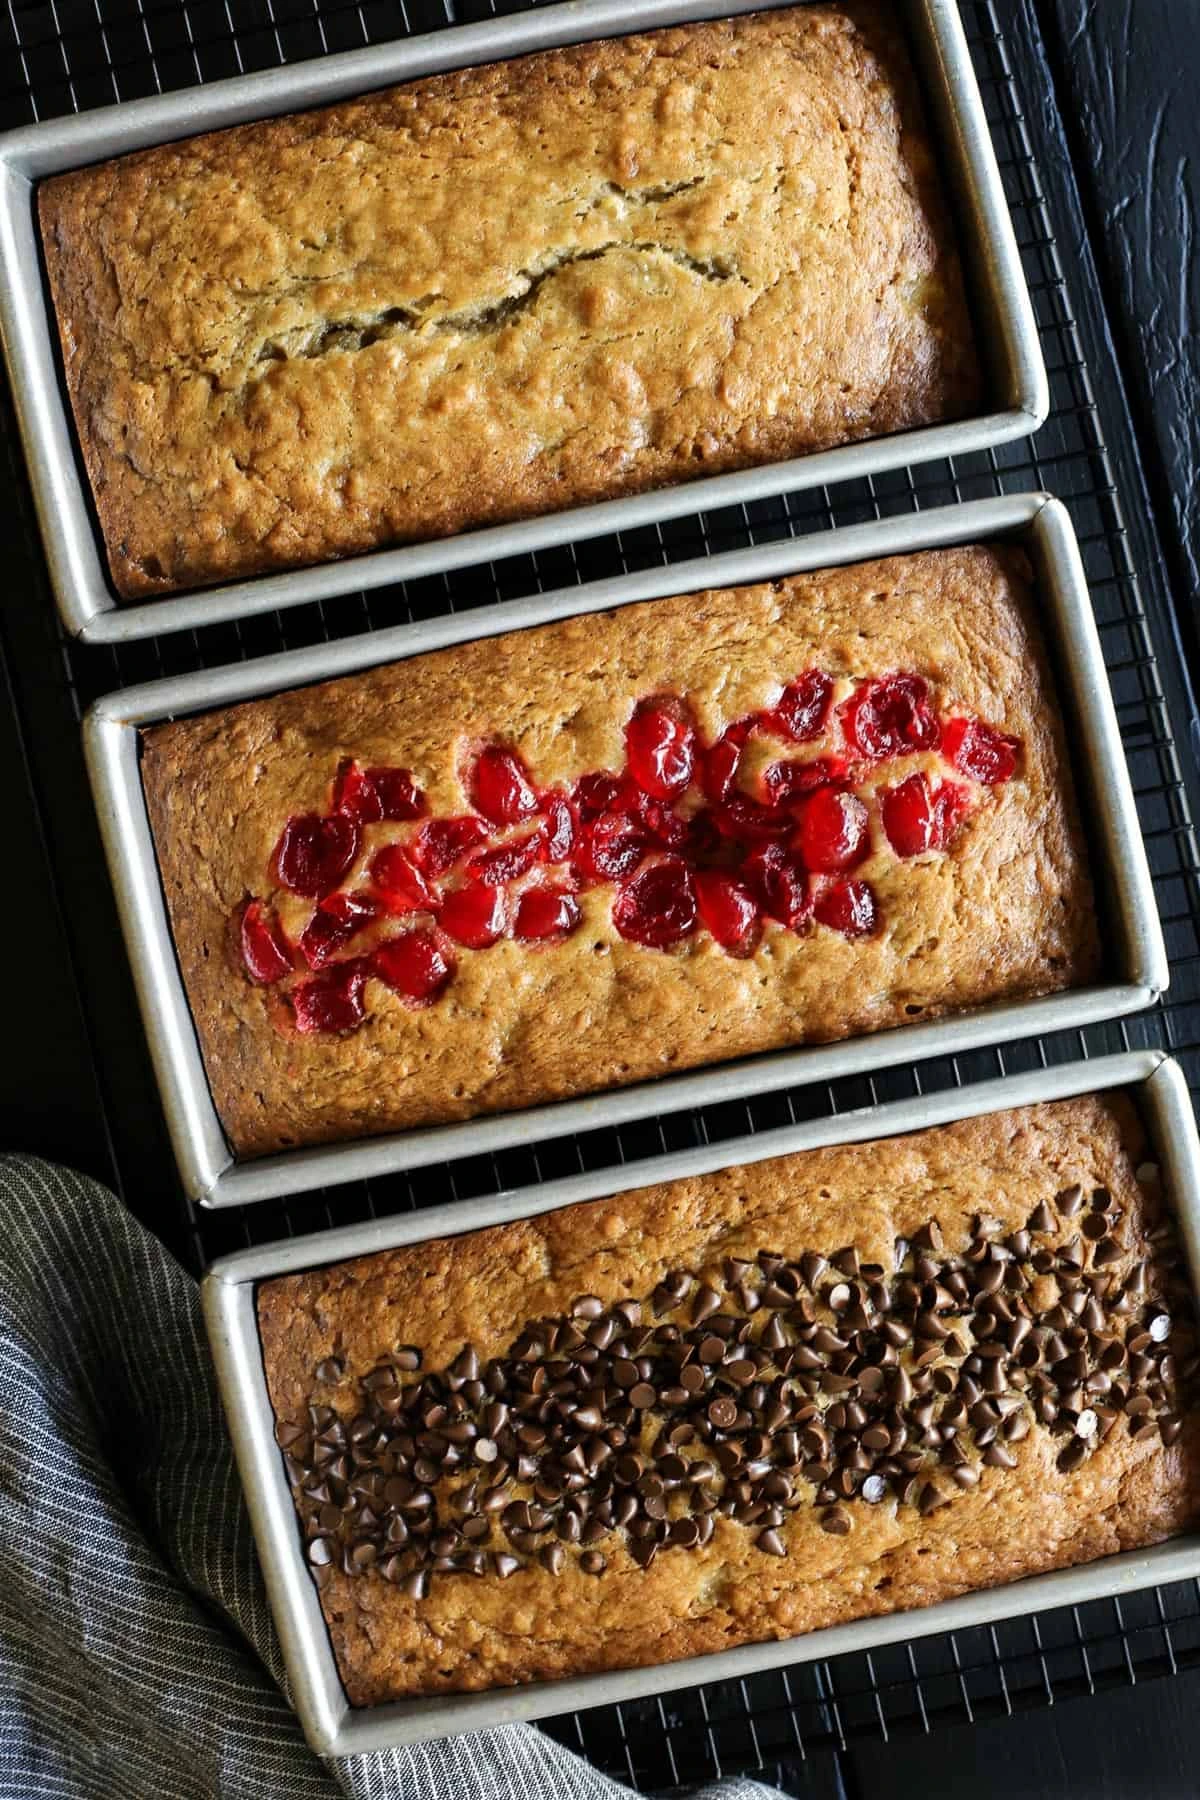
Creative Variations and Twists on Classic Sour Cream Banana Bread
- Add Chocolate Chips or Nuts:
- Incorporate chocolate chips, walnuts, or pecans for extra flavor and texture.
- Make It Healthier:
- Substitute whole wheat flour or reduce sugar for a lighter version.
- Try a Cinnamon Swirl:
- Add a cinnamon-sugar layer for a sweet, spiced twist.
- Mini Loaves or Muffins:
- Divide batter into mini loaf pans or muffin tins for smaller portions.
- Glazing or Frosting Ideas:
- Drizzle with cream cheese glaze or a light lemon glaze.
Conclusion
Congratulations! You’ve just mastered the art of baking sour cream banana bread at home. This easy-to-follow recipe, combined with the magic of sour cream, guarantees a loaf that’s moist, flavorful, and absolutely irresistible. Whether you enjoyed it fresh out of the oven, shared it with friends and family, or saved some for later, this banana bread is sure to become a go-to favorite in your kitchen.
The beauty of this recipe lies in its versatility—whether you add chocolate chips, nuts, or even a swirl of cinnamon, there’s no wrong way to customize your loaf. Plus, with the tips and variations we’ve shared, you’ll always get perfect results, no matter how creative you get.
We’d love to hear about your baking experience! Did you try any fun twists or stick to the classic recipe? Share your thoughts in the comments below, and don’t forget to save this guide for the next time you’re craving a homemade treat. Happy baking!